A quotation that says only “Varex DR panel” does not tell you whether the detector will fit the existing bucky, communicate with the acquisition workstation, or synchronize with the X-ray generator. By the end, you will have a field-by-field specification checklist for selecting, installing, and accepting a Varex panel in a Nashik retrofit.
Key takeaways
- Choose 14 × 17 in after measuring the upright bucky tray clearance.
- Specify active area, pixel pitch, exposure range, and interface in the quotation.
- Verify generator triggering, DICOM workflow, and calibration before installation.
- Release the retrofit only after image-quality and radiation-safety acceptance tests.
Which Varex panel size will fit the existing Nashik equipment?
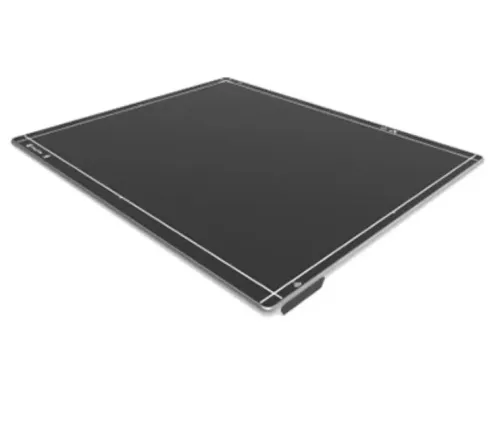
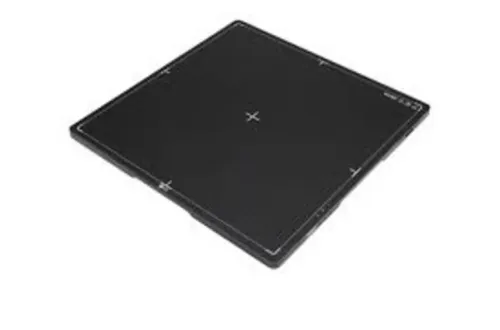
Choose the 14 × 17 in format for most existing upright buckies, and choose 17 × 17 in only after the tray proves it has enough clearance. The correct Varex panel size in Nashik depends on physical fit, not the nominal label alone.
| Format | Approximate dimensions | Best use | Main fit concern |
|---|---|---|---|
| 14 × 17 in | 35 × 43 cm | Upright bucky and general radiography | The smaller field can clip large chest, abdomen, or long-bone anatomy |
| 17 × 17 in | 43 × 43 cm | Chest and tabletop examinations requiring wider coverage | It may not enter a 14 × 17 in cassette tray and can add mounting weight |
Before ordering, measure the existing equipment and record:
- Tray clear opening and usable insertion depth
- Detector thickness, corner radius, latch position, and retaining mechanism
- Wall-stand or table weight limit and whether the bucky accepts a wireless detector
Do not treat external dimensions as active imaging area. Ask for the exact Varex model drawing, active area, matrix, thickness, weight, and usable field of view; a quotation that says only “Varex DR panel” does not establish fit.
Select 17 × 17 in when the opening and mounting system accommodate it and chest coverage matters more than interchangeability. Select 14 × 17 in when the existing tray is narrow or the system serves routine upright examinations.
Physical clearance still does not prove operational compatibility: confirm the detector driver, exposure mode, AED response, and calibration method before installation.
Which imaging and exposure specifications belong in the Varex quotation?
A quotation that says only “Varex DR panel” is incomplete. Request the exact model number, hardware revision and firmware, because pixel pitch, matrix, bit depth and image-processing behaviour vary across PaxScan and LUMEN HD configurations.
| Field group | Require in the quotation | Why it matters |
|---|---|---|
| Imaging identity | Model number, revision, firmware, active area, pixel pitch in µm, matrix dimensions and bit depth | Separates panels that share a nominal 14 × 17-inch or 17 × 17-inch format |
| Detector construction | Scintillator material, detector thickness, weight and usable field of view | Affects dose response, image sharpness and tray or stand loading |
| Performance | Spatial resolution in line pairs/mm, MTF at stated spatial frequencies, DQE at stated kVp and dose, image lag and frame rate | Makes performance claims measurable under the same test conditions |
| Radiographic exposure | Supported kVp range, mAs range, maximum exposure time, minimum exposure time and stated entrance-dose limits | Shows whether the panel covers the room’s intended examinations |
| Exposure control | AED availability, AED response time, trigger method and exposure-synchronisation requirements | Prevents missed or prematurely terminated acquisitions |
| Generator interface | Compatible generator make and model, exposure switch or generator-trigger input, required signal polarity, timing, cables and interface hardware | Confirms the existing generator can start and end exposure correctly |
Ask the supplier to state the test standard and conditions beside every MTF, DQE and resolution value. Treat “Varex detector India specifications” as a request for this complete configuration, not a generic product label. A quotation without these fields cannot support a defensible retrofit comparison.
How do you prove Varex DR panel compatibility with the generator and software?
Physical fit proves only that the panel enters the tray; working compatibility requires a tested signal path from exposure to PACS. For DR panel compatibility in Nashik, record the exact Varex model and revision, then test the detector, generator, workstation, and printer as one system.
| Interface or service | Proof to request | Failure if absent |
|---|---|---|
| Wireless communication | Proprietary access point, pairing process, channel settings, power supply, charging dock, battery-management status | Images fail when the panel disconnects or its battery reaches a low threshold |
| Wired communication | Ethernet or dedicated-interface type, connector pinout, cable length, driver, and network settings | The panel powers up but the workstation cannot acquire images |
| Exposure synchronization | AED response and generator-trigger support, exposure switch, timing cable, and connector tested at the intended kVp and mAs | An image is clipped, missed, or acquired without exposure status |
| Acquisition and DICOM | Exact acquisition driver; Modality Worklist, patient demographics, DICOM Storage, PACS export, and DICOM Print | “DICOM compatible” hides missing workflow functions |
- Selects a patient from Modality Worklist and preserves demographics through acquisition.
- Sends the image to PACS with dose-related metadata and presentation-state handling where supported.
- Prints to the named DICOM printer using its Conformance Statement, including SOP Classes, grayscale behavior, film-size mapping, and failure/retry handling.
- Repeats acquisition after battery replacement, wireless reconnection, and generator-trigger or AED operation.
What documentation and installation checks are required for a Nashik DR retrofit?
Demand a document pack before approving the retrofit. A Nashik buyer seeking dr retrofit system specifications in nashik should require the exact Varex model and hardware/software revision, not “LUMEN HD” alone, plus detector serial-number traceability from quotation through delivery and installation.
| Document | Verify | Why it matters |
|---|---|---|
| Configuration sheet | Active area, thickness, weight, scintillator, communication method, AED or generator-trigger support | A tray fit does not prove exposure compatibility |
| Indian service file | Warranty start date, exclusions, response terms, battery and charger part numbers, calibration procedure and calibration files | A failed battery or missing calibration record can stop clinical use |
| Software file | Acquisition-driver version and DICOM Conformance Statement covering Modality Worklist, Storage, PACS export, dose metadata, presentation states and DICOM Print | “DICOM compatible” does not prove the required workflows |
| X-ray equipment file | Generator and tube model, serial numbers, tube rating, collimator details and service history | The panel does not replace records for the complete X-ray installation |
| Room and regulatory file | Shielding layout and calculation, electrical and earthing records, AERB registration or licence documents applicable to the site, and a post-installation radiation survey | Replacing CR or film does not make the room compliant |
| Acceptance file | A signed installation acceptance protocol recording configuration, software revision, accessories, defects, corrective actions and handover date | Unrecorded changes become warranty and responsibility disputes |
Have Spark Medical Services reconcile these records against the delivered serial number and workstation before sign-off. Require the vendor’s Indian service contact and escalation route in the purchase order.
Related products
 | DR System ₹950000 The LUMEN HD Detector by Varex Imaging represents a major advancement in digital radiography technology. View product → |
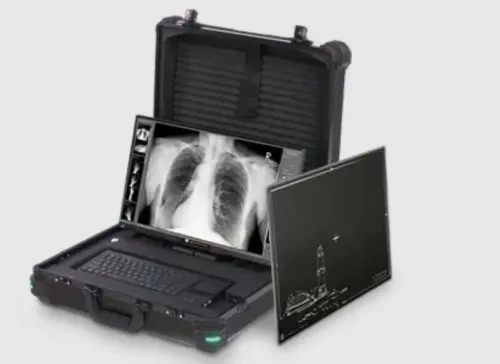
 | Portable DR (Digital Radiography ) System -We Provide sales and service to all types of DR -Our Portable DR System offers a compact, high-performance... View product → |
Which acceptance tests should decide whether the retrofit is ready for clinical use?
Clinical sign-off requires measured evidence that the exact detector, generator, workstation, and DICOM workflow perform together. Do not approve DR panel compatibility in Nashik from a successful test image or a matching cassette tray alone. Record the model, firmware, serial number, exposure technique, processing preset, and test result for every check.
- Calibrate the detector using the manufacturer’s procedure, then retain the calibration file and date.
- Map uniformity, bad pixels, fixed-pattern noise, dead rows or columns, and visible artifacts at representative exposures.
- Measure line-pair or spatial-resolution performance with a calibrated test object and compare it with the quoted specification.
- Verify exposure-index behavior at low, nominal, and high exposures; confirm that the displayed index changes in the correct direction and that the workstation flags underexposure or saturation.
- Time image transfer from exposure completion to image availability at the acquisition workstation and PACS.
- Confirm that repeat and reject reasons are recorded, retrievable, and excluded from diagnostic and dose statistics as configured.
| Test | Pass evidence | Sign-off risk if absent |
|---|---|---|
| kVp and mAs range | Diagnostic images remain stable across every intended technique | Hidden generator or AED incompatibility |
| Detector and artifacts | Calibration holds and no unexplained artifact remains | Repeat exposures or missed pathology |
| Workflow | DICOM image arrives, displays, archives, and prints within the agreed time | Clinical delays or lost studies |
| Documentation | Results match the exact Varex detector India specifications and acceptance protocol | A different firmware or panel is approved by mistake |
Reject the retrofit until failures are corrected and retested.
Frequently asked questions
Which Varex panel size fits existing Nashik radiography equipment?
A 14 × 17 in panel suits most existing upright buckies, but measure the tray opening, depth, retention mechanism, cable path, and clearance first. Use a 17 × 17 in panel only when the tray and bucky provide enough space.
What specifications should a Varex DR panel quotation include?
Request the panel dimensions, active imaging area, pixel pitch, detector matrix, frame rate, exposure rating, operating temperature, communication interface, wired or wireless operation, battery details, and required acquisition software.
How do you prove Varex DR panel compatibility with a generator and software?
Confirm the generator trigger method, exposure synchronisation, detector interface, workstation driver, image-processing software, DICOM Modality Worklist support, DICOM Store, and calibration workflow. Test an exposure and verify that the image carries the correct patient and study data.
What documentation and installation checks are required for a Nashik DR retrofit?
Keep the panel datasheet, serial number, warranty terms, installation record, generator interface details, software and firmware versions, calibration files, DICOM configuration, user training record, and service contacts. Check tray fit, grounding, cable routing, detector alignment, network connectivity, and radiation-safety controls.
Which acceptance tests determine whether the DR retrofit is ready for clinical use?
Run detector uniformity, artefact, spatial-resolution, contrast-detail, exposure-index, repeatability, and DICOM workflow tests. Confirm that the generator terminates exposure correctly, images reach the intended destination, and the facility records results against its radiology quality-assurance procedure.
Keywords