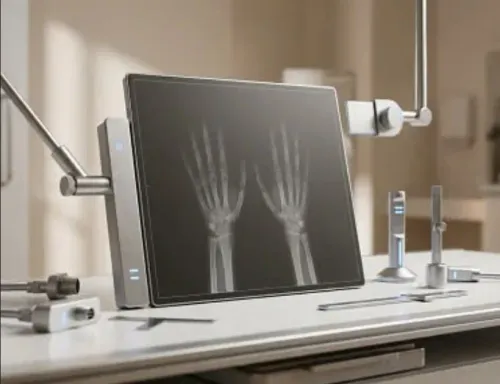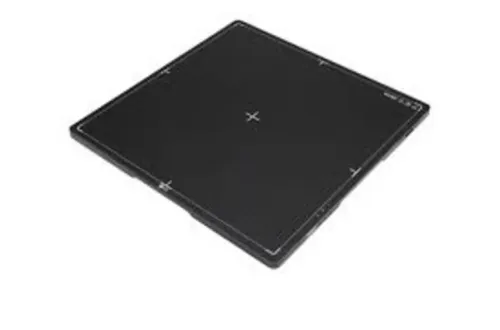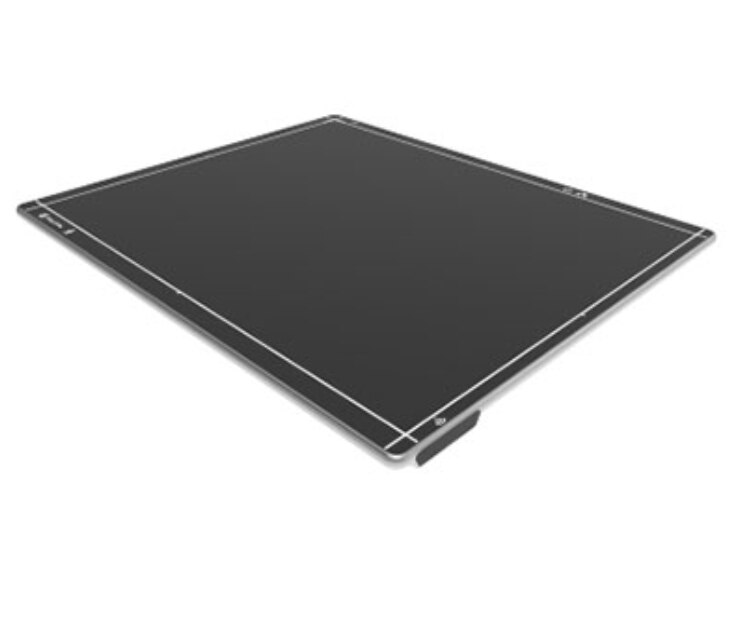
A DR upgrade can leave a detector producing images while the wrong calibration, exposure-index logic, orientation, or DICOM settings remain in use. By following a documented acceptance test, inspection schedule, cleaning and battery routine, and escalation process, you can distinguish ordinary wear from a panel that must leave clinical service.
Key takeaways
- Confirm detector, firmware, calibration, generator, software, and DICOM settings before scanning.
- Record panel cleaning, charging, handling, and storage checks on every shift.
- Trend image quality before recalibrating; investigate positioning, exposure, and workflow first.
- Give engineers model, serial number, error codes, images, and timestamps in every escalation.
Prove the upgraded room is ready before the first patient
Before the first patient, sign off the entire acquisition chain, not just an image that appears on screen. Confirm the detector model, firmware, calibration files, generator interface, workstation software, and DICOM settings match the installed configuration.
A pre-upgrade calibration is not automatically valid after changes to the generator, bucky, SID, grid, software, firmware, or panel orientation.
| Component | Acceptance check | Failure consequence |
|---|---|---|
| Varex panel | Verify serial number, firmware, offset/gain and bad-pixel map; test uniformity, artefacts, spatial resolution, and contrast-to-noise against baseline or manufacturer limits | A panel can produce images while applying the wrong correction data |
| Generator and AEC | Test kVp, mAs, exposure output, exposure index, and automatic exposure control with the installed panel and technique chart | Incorrect response can lead staff to increase patient dose |
| Workstation | Confirm image orientation, anatomy markers, processing, exposure-index display, and repeat/reject workflow | Mislabelled or incorrectly processed studies can enter reporting |
| PACS and network | Send, receive, archive, and retrieve a DICOM study; check patient details, modality, destination, and timestamps | A good image that never reaches PACS is not a usable examination |
| End-to-end system | Complete a radiographic phantom exposure and record radiation and electrical safety results | Unvalidated interfaces can conceal faults between components |
Record room temperature, humidity, earthing, power interruptions, wireless interference, network loss, and dust or heat events beside the results. Do not use phantom processing or artefact correction to disguise a dose or generator problem. This documented varex panel maintenance after dr for upgrade in nashik standard also defines dr panel maintenance after upgrade.
Sign off only when every failed check is corrected and repeated.
Use a maintenance calendar from every shift to every year
1. Every shift, confirm the panel serial number, wireless connection, battery level, charging contacts, cable and indicator lights. Read warning messages before exposing a patient; a weak battery or lost link can stop an examination mid-procedure.
2. Daily, inspect the housing, receptor surface, seams, connector shell, strain relief and battery compartment for cracks, deformation, liquid ingress or impact marks.
Clean with the exact model’s approved wipe or disinfectant, using its stated concentration and wet-contact time; never spray connectors or seams, use abrasive pads or strong solvents, or charge before the panel is dry.
3. Weekly, check the specified charger and spare batteries for swelling, heat, leakage, damaged contacts and abnormal charging. Rotate spares, avoid storing a depleted battery, and remove any damaged battery from service; follow the model-specific storage-charge limit.
4. Monthly, review fault messages, battery cycle status where available, charging performance, wireless dropouts and image-test results against the accepted baseline. Record room temperature, humidity, dust, power interruptions, earthing concerns, network loss and wireless interference so environmental faults are not blamed on the detector.
5. Quarterly, inspect the complete DR workflow and repeat the local image-quality and safety checks defined for the upgraded system. Annually, arrange documented technical service covering the detector serial number, firmware and software versions, calibration date, battery identity, fault diagnostics, replaced parts, post-repair image test, and radiation and electrical safety checks.
This record makes Varex DR panel care actionable instead of reducing it to “panel serviced.”
Clean, charge, carry, and store the panel without creating damage
Use the exact Varex panel instructions for use to choose the disinfectant, concentration, contact time, drying method, ingress-protection rating, and immersion limit. Do not assume a wireless or portable detector is waterproof.
Apply the approved solution to a cloth, never directly onto connectors, seams, vents, or the battery compartment; avoid abrasive cleaners, solvents, bleach mixtures, and soaking. Let the housing and receptor surface dry completely before charging or imaging.
- Inspect the housing, receptor surface, cable, connector shell, strain relief, battery contacts, and compartment for cracks, deformation, loose parts, liquid ingress, impact marks, swelling, heat, or leakage.
- Charge only with the specified battery and charger, and remove a battery from service for swelling, damaged contacts, leakage, unusual heat, or repeated shutdowns.
- Follow the model’s storage-charge limit; do not leave a depleted battery stored for long periods. Rotate identified spare batteries and record cycle status where available.
- Carry the detector in its specified protective case, support it with both hands, and keep it away from drops, pressure, sharp edges, liquids, and vehicle heat.
- In a fixed room, secure cables and prevent the panel from being trapped in the bucky. For portable work, place it on a clean protected surface and never drag it by its cable.
Good varex dr panel care includes recording cleaning, battery, and impact findings. As part of dr panel maintenance after upgrade, log heat, humidity, dust, unstable power, earthing events, wireless interference, and network loss beside panel faults; these conditions can mimic detector failure.
Track image quality and know when recalibration is the wrong response
Compare every follow-up flat-field or uniformity image with the commissioning baseline using the same approved exposure, detector position, SID, processing version, and room conditions. A new line, fixed-pattern shade, bad-pixel cluster, edge artefact, or uneven response needs investigation; changing window/level or presets only hides evidence.
| Signal | More likely cause | Action |
|---|---|---|
| Uniform shading across the field | Exposure, AEC, generator, or geometry change | Check exposure indicators, technique charts, SID, grid, and AEC before recalibrating |
| Single repeated line or pixel cluster | Detector, cable, firmware, or calibration fault | Remove from clinical use if persistent; arrange diagnostic testing |
| Intermittent loss, wireless drop, or power reset | Battery, contacts, interference, network, earthing, or unstable supply | Record the event and test the room and accessories |
| Artefact after a drop or compression event | Mechanical, scintillator, sensor, or cable damage | Stop routine use and obtain supplier evaluation |
Do not respond to a dose problem with repeated phantom images, software correction, or higher technique factors. Confirm the installed generator, AEC, exposure indicators, firmware, and processing version as one system; a calibration from before the upgrade may no longer apply.
Stop use immediately for a cracked or deformed housing, exposed components, fluid ingress, burning smell, electric shock, battery swelling, overheating, repeated unexplained artefacts, or damage after impact. Do not delete the affected image and continue scanning. Record detector serial number, firmware, calibration date, battery identity, room power and network events, then request controlled testing.
This is essential dr panel maintenance after upgrade and supports varex panel maintenance after dr for upgrade in nashik.
Create a Nashik escalation record that engineers can act on
Record the detector serial number, firmware, acquisition software and image-processing versions before requesting Varex panel service in Nashik. Add the calibration date, battery identity and cycle status, room number, exposure details, fault time, and whether the fault follows the panel or stays with the room.
Collect these items in one escalation record:
- Affected examination, exposure factors, SID, grid or bucky position, and sample DICOM image
- Error text, warning-light pattern, artefact location, and repeat frequency
- Diagnostic results, recent cleaning or impact, battery changes, and cable or connector observations
- Room temperature, humidity, dust or fluid event, power interruption, earthing observation, network loss, and wireless-interference event
- Service actions, replaced parts, post-repair uniformity and image test, plus completed radiation and electrical safety checks
| Problem pattern | First owner | Escalate when |
|---|---|---|
| Dirty surface, loose workflow step, low battery, or missed warning | User | It remains after the approved procedure |
| Persistent artefact, failed self-test, charging fault, battery swelling, or communication failure | Service engineer | Stop using the panel for swelling, overheating, exposed damage, or repeated failed tests |
| Unstable power, poor earthing, network outage, wireless interference, heat, humidity, or dust | DR upgrade support team | The fault affects more than one examination or panel |
| Wrong orientation, markers, exposure index, DICOM routing, or repeat handling | Engineer and application/PACS team | The issue began after a software, generator, or room change |
Spark Medical Services can keep the local service history tied to the panel serial number, rather than logging only “panel serviced.” This makes DR upgrade solution maintenance in Nashik traceable across users, engineers, and infrastructure teams.
Related product
 | DR System ₹950000 The LUMEN HD Detector by Varex Imaging represents a major advancement in digital radiography technology. View product → |
Frequently asked questions
What must you verify before using an upgraded Varex panel on a patient?
Confirm the detector model, firmware, calibration files, generator interface, workstation software, and DICOM settings match the installed configuration. Complete a test exposure and sign off the acquisition chain before the first patient.
How often should you maintain a Varex DR panel after an upgrade?
Use checks at every shift, then add scheduled daily, weekly, monthly, and annual tasks. Record cleaning, battery condition, physical damage, connection status, image-quality results, and service actions.
How should you clean, charge, carry, and store a Varex panel?
Use the panel manufacturer’s approved cleaning agent and method, keep fluids away from openings, charge with the specified equipment, carry the panel with two hands, and store it in a protected location without placing weight on it.
When should you avoid recalibrating a Varex panel?
Do not recalibrate as the first response to one poor image. Check positioning, exposure, collimation, artefacts, generator communication, software settings, and panel damage before changing calibration files.
Keywords